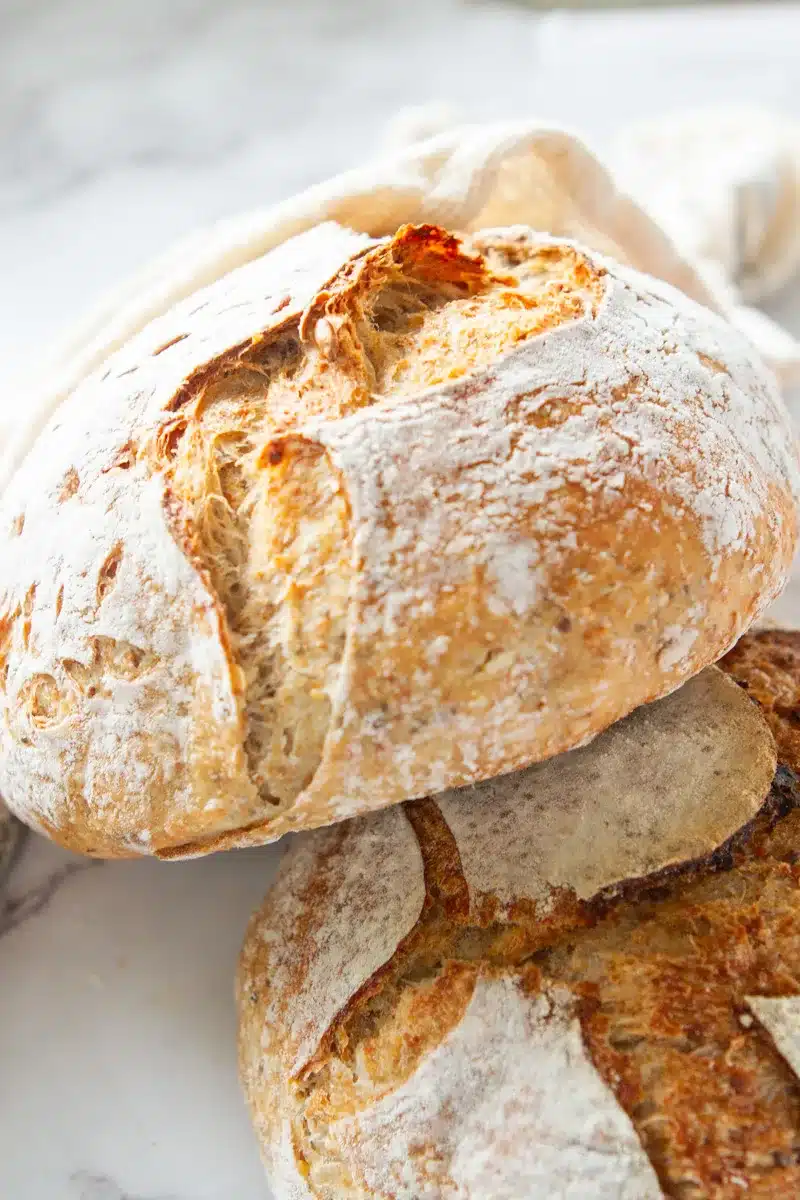
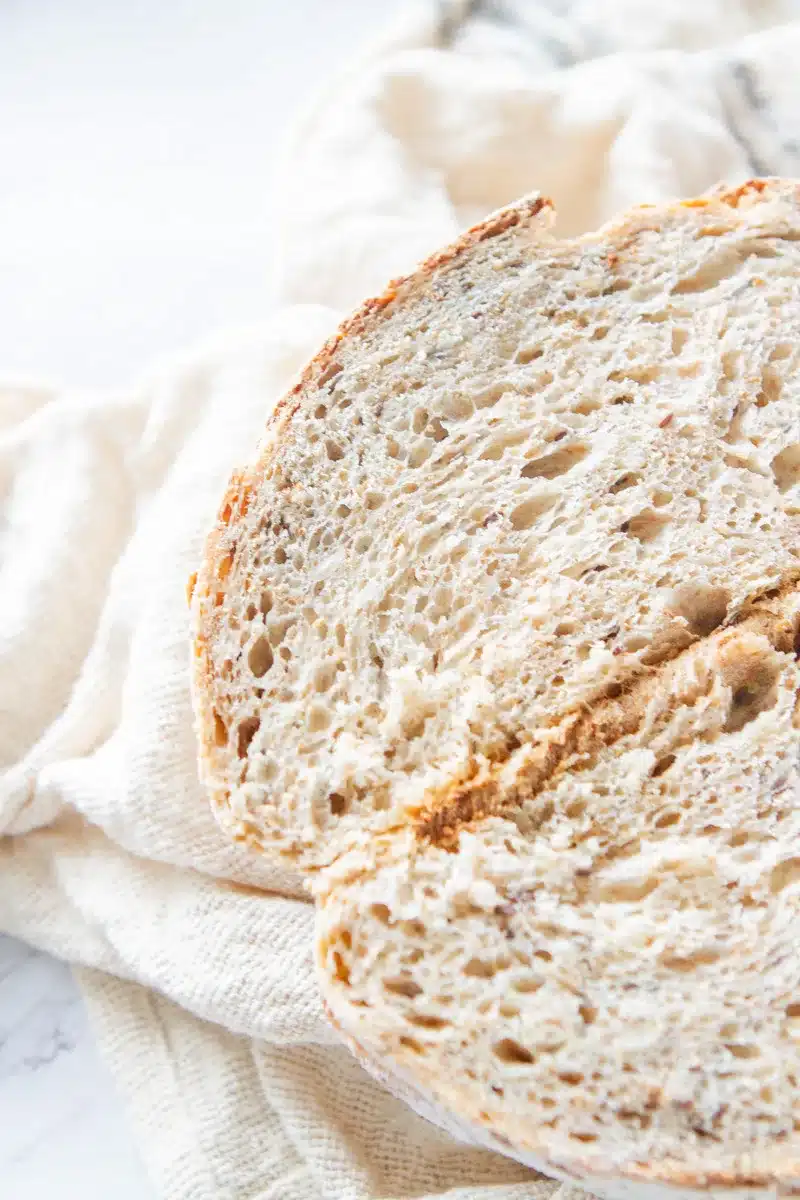
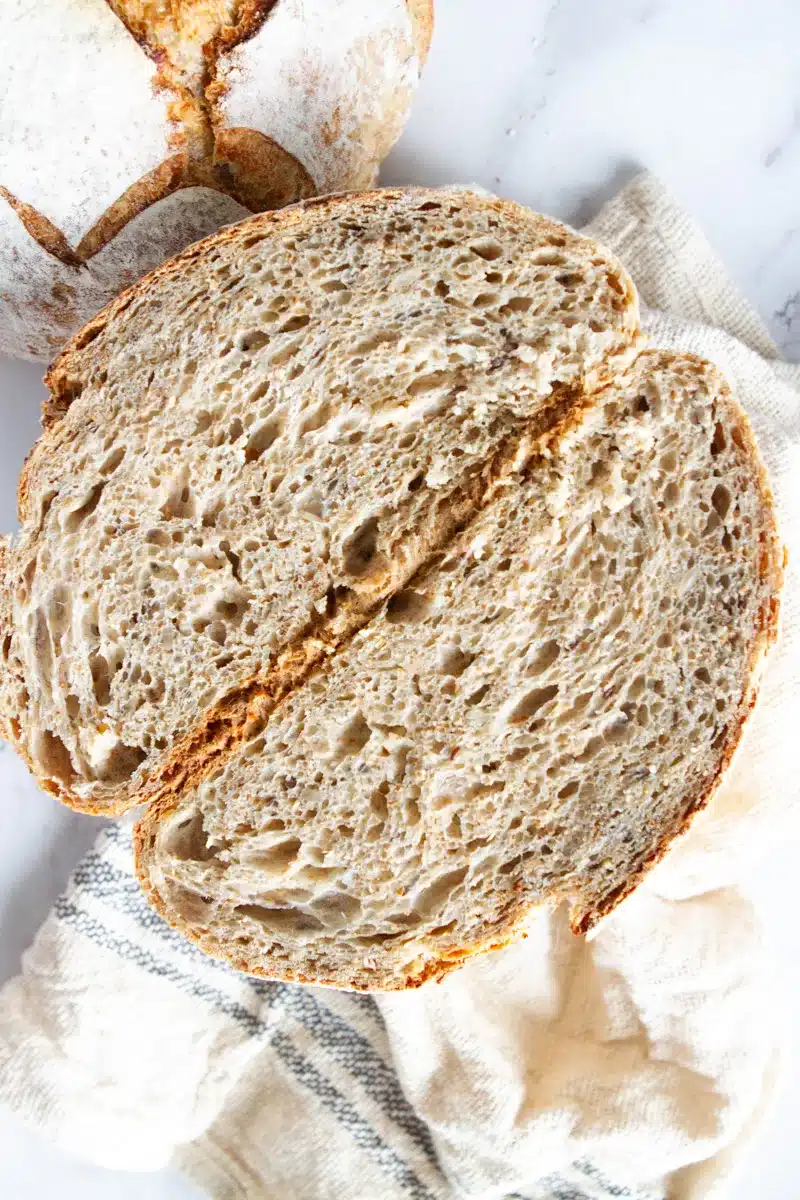
Want to make bakery-style sourdough bread with all sorts of nutritious grains and seeds? After making 100s of Sourdough breads I have experimented with all sorts of flavors. This Rustic whole wheat sourdough bread recipe is a go-to along with my original classic Rustic Sourdough bread recipe.

Frequently Asked Questions about Sourdough
What is the best flour for sourdough?
- King Arthur Organic Bread Flour
- Costco Organic unbleached All Purpose Flour- This is the one I use most often
- Bobs Red Mill All Purpose Flour
Most Important is to use good quality and high protein flour. Whole wheat flour is a really great flour that is nutrient-rich and feeds the microbiome in your starter to keep it alive and healthy.
Should sourdough bread be made in a dutch oven?
Most of us do not have fancy domed bread cloche or a steam oven but most of us do have a Dutch oven. Using a lidded Dutch oven to bake your sourdough can replicate the conditions needed to bake the perfect sourdough loaf.
High heat and Steam are essential for sourdough.
A Dutch oven or cast iron pot with a lid can handle high temperatures that regular pots are unable to. Making it perfect for bread making swell as other delicious Dutch oven recipes.
Steam is what makes sourdough have an airy crumb and crispy crust. Steam inside the loaf helps it cook evenly and rise perfectly without burning the crust.
How to keep the bottom of your sourdough from Burning?
The methods I have tried and which worked and which didn't. The first method is rice under the parchment paper and bread. I don't prefer this as it wastes a lot of rice as it burns and you need to replace it each time. Unless you have a lot of rice that went bad or is unusable. The second is Foil under the parchment and bread. This method didn't work for me I still got a burnt bottom. Lastly my favorite fail-proof method is placing a baking sheet in the oven rack under the Dutch oven. The baking sheet breaks the heat from the bottom of the Dutch oven which then prevents burning.

RUSTIC WHOLE WHEAT SOURDOUGH BREAD RECIPE
Equipment
- 2 Proofing baskets
- 1 lame
- 1 Bread knife or Serrated knife
- 2 shower caps
- 1 Large mixing bowl glass
Ingredients
Feed Sourdough Starter:
- 120 ml warm filtered water
- ¾ cup organic all-purpose flour
Whole wheat Sourdough Dough:
- 250 ml active sourdough starter
- 700 ml warm filtered water
- 1 tbsp sea salt
- 1 tablespoon organic sugar
- 3 cups whole wheat flour
- 3 cups organic all-purpose or bread flour
- 1 tablespoon flax seeds
- 1 tablespoon hemp seeds
- 1 tablespoon chia seeds
- 1 tablespoon sunflower seeds
Instructions
Feeding sourdough starter:
- To feed your starter add 120ml of warm filtered water making sure it is just slightly warm if it is too hot let the water cool off as hot water can kill the starter. Also, add in ¾ cup of flour then mix it should be fairly thick like dough.
- Cover and let sit on the counter at room temperature until it has doubled and you can see bubbles forming in the starter. This process can take from 3 to 8 hours depending on your starter and the temperature of your home.
Mixing Whole Wheat Sourdough dough:
- Once your starter has been fed and is active you are ready to mix the dough. In a large glass bowl, add 700ml of warm filtered water and to it add 250ml of your active starter. If your starter is floating it is ready and active if it sinks your bread will not rise so feed your starter again and wait until it's bubbly.
- Next, add 1 heaping tablespoon of sea salt and 1 tablespoon of sugar. With a Danish whisk mix the ingredients and start adding flour 1 cup at a time up to 3 cups of whole wheat flour and 3 cups of organic all-purpose flour. Next, add in all the seeds 1 tablespoon of each flax seeds, hemp seeds, chia seeds, and sunflower seeds. It's ok if the dough still looks a little lumpy at this point with each fold it will get better with each fold.
- Cover the bowl with dough with either a shower cap or plastic wrap and let sit for 30 minutes.
Stretching and folding Sourdough:
- After 30 minutes take off the shower cap and wet your hands with water then working from the edge of the bowl pull the dough up which stretches the dough and fold it over to the other side of the bowl. Working around the bowl you will notice the dough stiffen a little this shows that you are doing a good job strengthening the dough!
- Cover again with the shower cap and let sit again for 30 minutes. Repeat this for 5-6 times leaving the dough to rest on the counter for 30 minutes every time.
Final stretch and forming sourdough:
- On the 6th time of strengthening your dough invert the dough onto a floured surface and split the dough into 2 even pieces. Take one of the pieces and slowly start stretching on the counter first side to side then up and down and stretch as far as possible without ripping the dough. It is ok if it rips but you are stretching too quickly. After the dough is stretched fold the top to the center and the bottom up to the center as well next roll up from one side to the other and with 2 hands cupped slowly roll it down the surface which will form the bread and create tension on the top to develop that beautiful ear on your cut.
- Coat the bread with flour and slowly flip the smooth floured side into a proofing basket. If needed pinch the bottom closed and sprinkle with some more flour and cover with a shower cap. Place in the refrigerator overnight or 8 hours to ferment.
- **If you prefer sour flavor in your sourdough then leave it on the counter to ferment for 6-8 hours before forming and then form as stated above and place in the refrigerator for 3-4 hours.
- Preheat your oven to 450F and place your Dutch oven with the lid to preheat in the oven for about 30 minutes. Once your oven and Dutch oven are preheated take out the proofing basket with the sourdough and invert it onto a piece of parchment paper.
- Coat the top with more flour and use a lame to make a large cut and score a design. It is important to make a deep cut across your bread if you don't the bread will end up bursting in random places. Cut at an angle to develop the ear on the bread and have that nice curl.
- With oven hits remove the hot Dutch oven out of the oven and slowly place the sourdough into the Dutch oven with the parchment paper. Cover back with the lid and place back into the hot oven leave to bake for 30 minutes. After 30 minutes remove the lid and let the bread finish baking for about 20-30 minutes depending on how dark you want your crust.
- After the Sourdough is done baking remove it place it on a cooling rack and let it cool to room temperature before cutting into it.
Recipe Substitutions and Variations
- Sea salt- I also really enjoy using Celtic salt for the added minerals.
- Flour- It is best to use a good quality flour that is high in protein. I enjoy using the Costco Organic Flour.
- Filtered water- If you do not have filtered water you can bring a pot or kettle of water to a boil and then let cool. It will help evaporate most of the chlorine and such.
- Seeds- Feel free to mix in other seeds or leave out ones that you don't like.
Get creative with the scoring on your bread the more you practice the better your designs will come out. But to get a precise cut use a new razor blade every 3 times or so. These blades are very thin and get dull quickly.
If you prefer to see those little bubbles on the crust then instead of adding flour use a spray bottle spray the uncooked sourdough with filtered water and then bake as described.

SOURDOUGH TROUBLE SHOOTING:
WHY IS MY SOURDOUGH BREAD GUMMY INSIDE?
Either it is underbaked or it was cut into before completely cooled off.
HOW TO MAKE SOURDOUGH LESS SOUR?
Minimize fermentation at room temperature and do a cool bread-proofing in the refrigerator.
SOURDOUGH STARTER NOT RISING...
Either the room was too cold or the water was too cold when feeding the starter. You can help the sourdough rise by adding a tablespoon of warm water and 1 tablespoon of flour.
SOURDOUGH STARTER NOT BUBBLY...
Needs to be strengthened feed once more with the same amounts as the recipe states.
SOURDOUGH STARTER NOT FLOATING...
It is not active either didn't have enough time to activate or the starter needs to be strengthened with a few more feedings. Feed once a day until you will start seeing bubbles form and starter rising.
HOW TO GET SOURDOUGH MORE SOUR?
Let ferment at room temperature longer usually, it is done overnight you can bump it up to 12- 16 hours fermentation time at room temperature.

HOW TO STORE SOURDOUGH BREAD
Store your bread in either a linen bag or bread box or I prefer a cake stand with a dome that way you can display your hard work! It is best if there is a little air flow to keep the crust crispy. Fresh bread is good for about a week on the counter at room temperature. Feel free to store it in the refrigerator for a prolonged shelf life. Or place in a gallon freezer bag and freeze for up to 3 months. Make sure to remove as much air as possible from the bag.


Leave a Reply