This is a guide on how to set up a DIY auto garden watering system that is simple enough that anyone can set up. For most gardens, this system will cost under $100 to install and set up.
There are affiliate links on this post please read DISCLAIMER AND DISCLOSURE for more information.
The tools/ Items you will need:
Having an auto-watering system like this makes maintaining your garden space so simple and effortless. Your garden will be watered whether you're home or not. Although I enjoy watering the garden early in the morning when it is quiet, and still and you can hear the birds chirping, we all get busy and forget or leave on a trip. An automatic watering system will help ensure your plants will thrive in all circumstances.
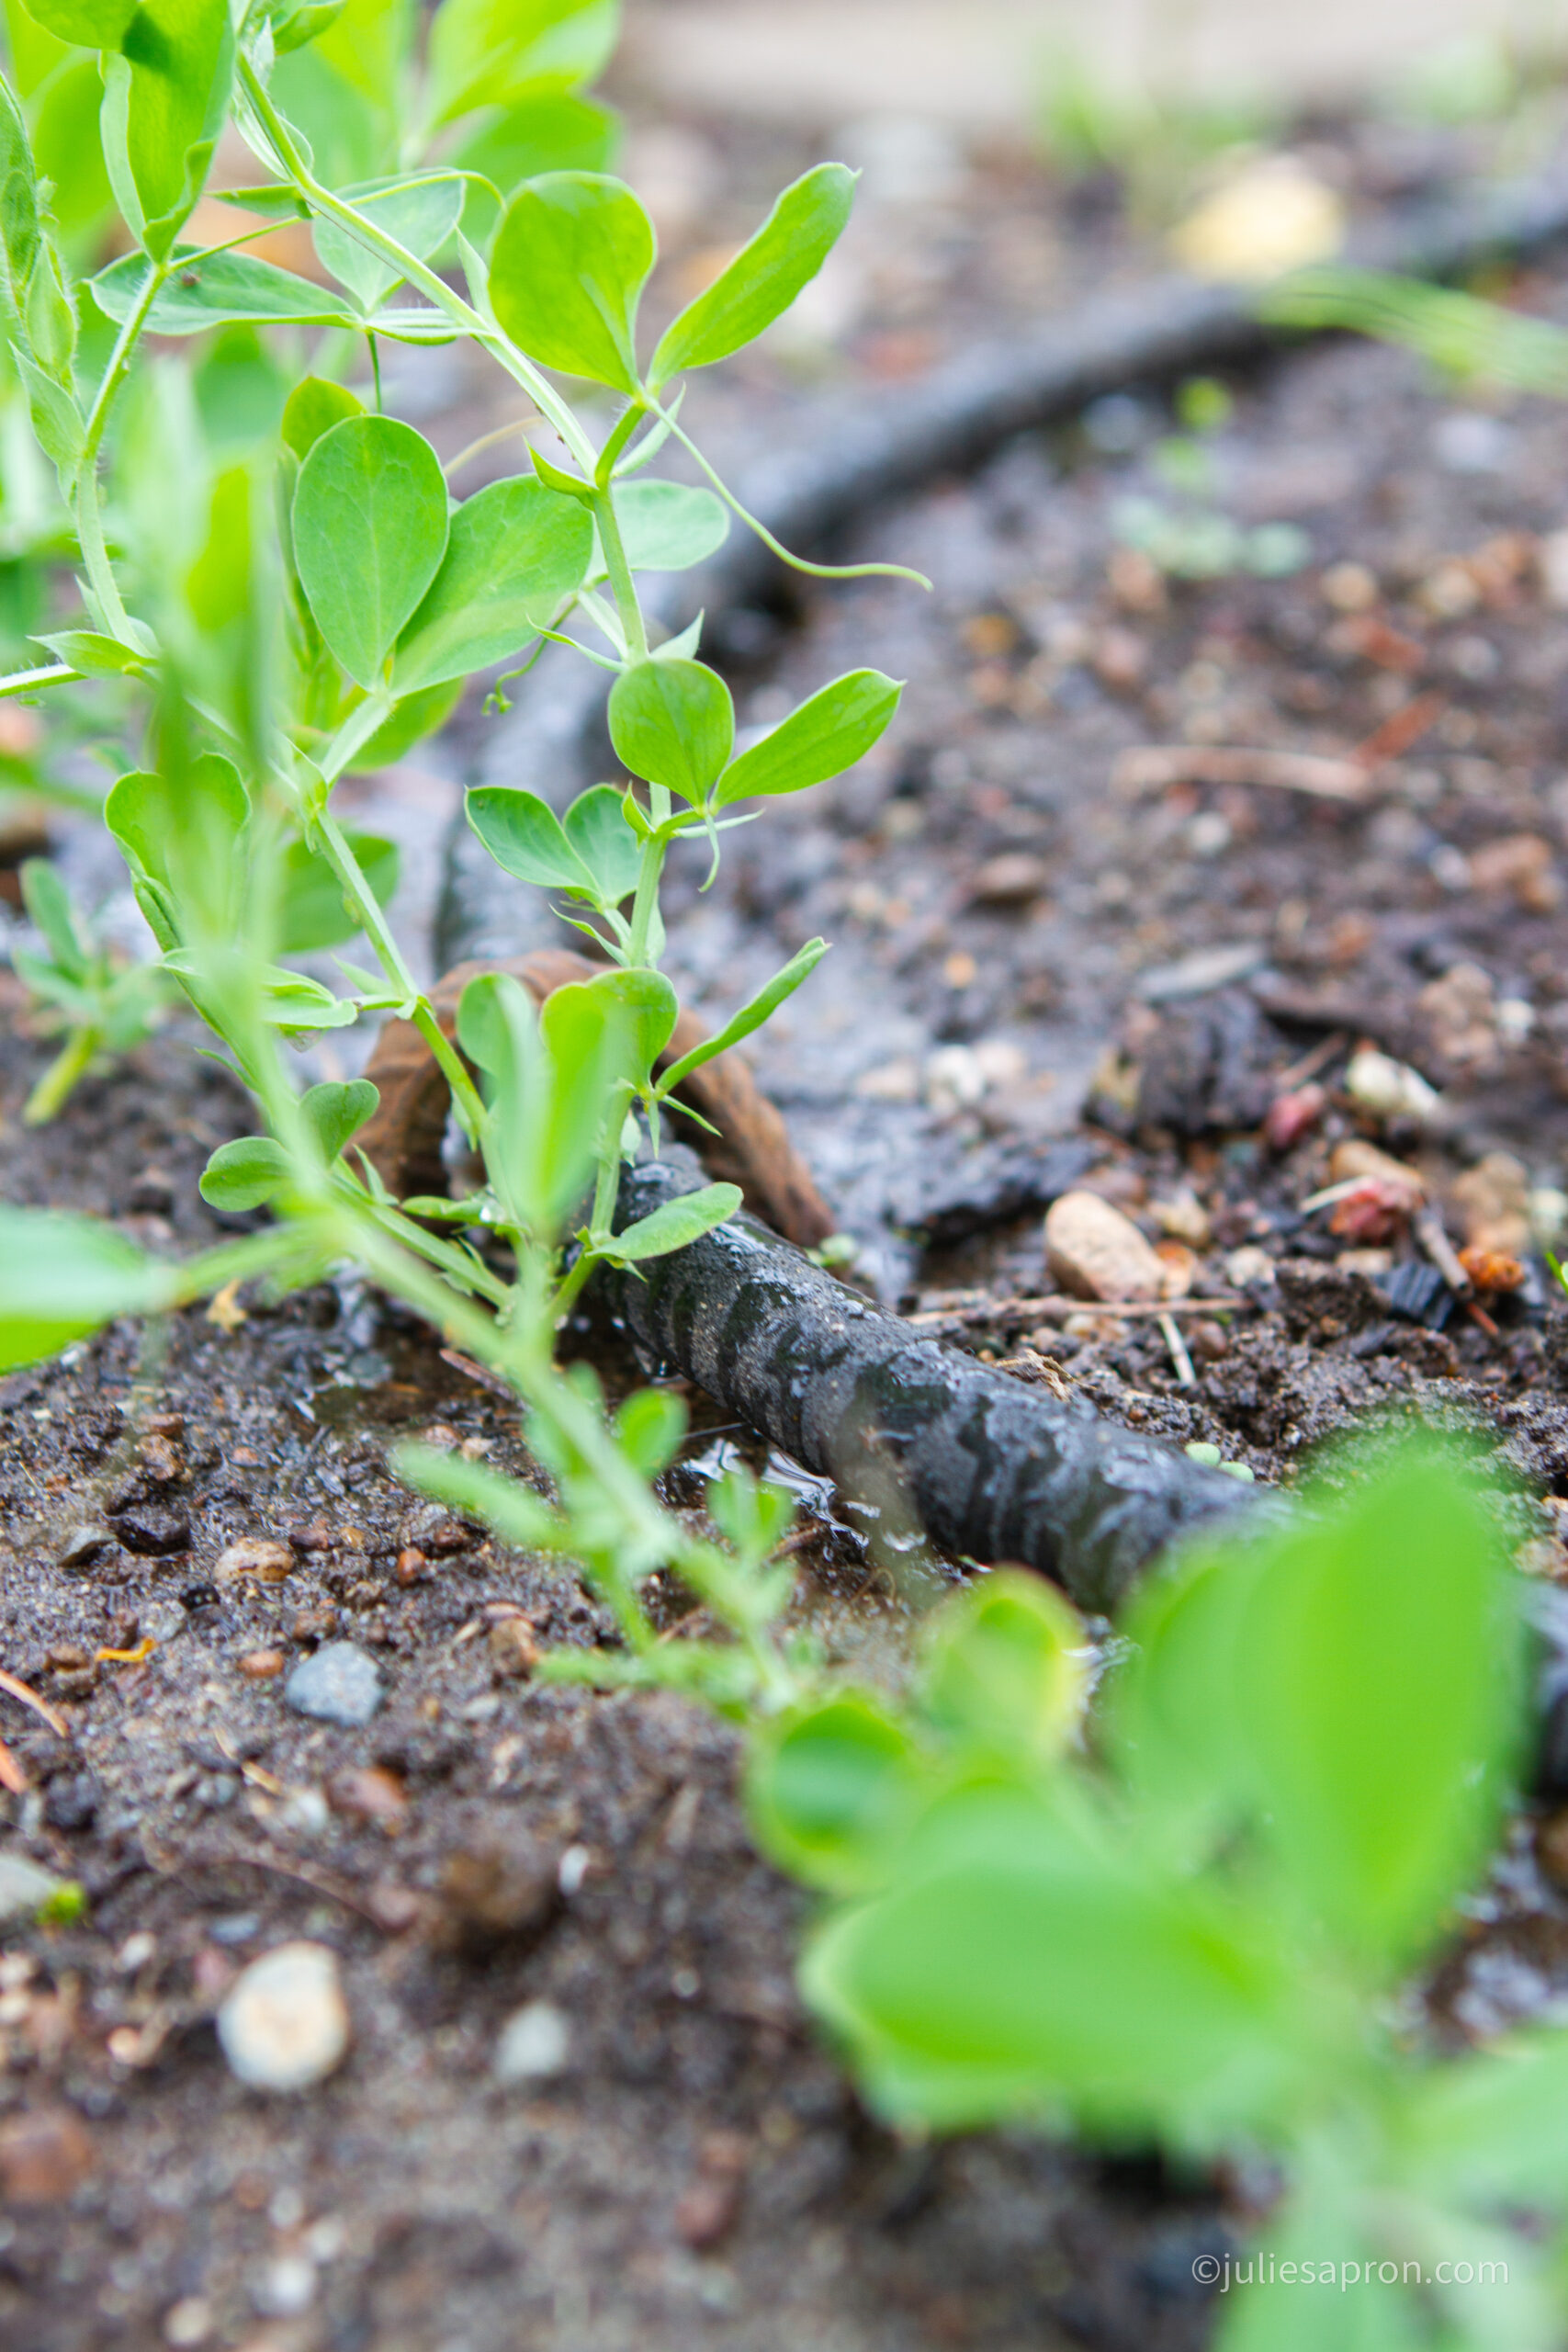
Soaker hose:
Measure out how much area you are trying to cover and how long of a hose you will need. Buying a few smaller soaker hoses helps give you more options on where you can supply the main watering source. Keep in mind the layout of your garden if you have separate sections or one long area for your garden.
Hose stakes:
Stakes will help keep in place your hose exactly where you want it and keep it from moving around. We repurposed some metal we had at our property but any kind of stakes will work. You want them to be at least 6 inches but the longer, the more sturdy they will hold the hose into place.
6 inch metal stakes
12 inch metal stakes
Hose facet timer:
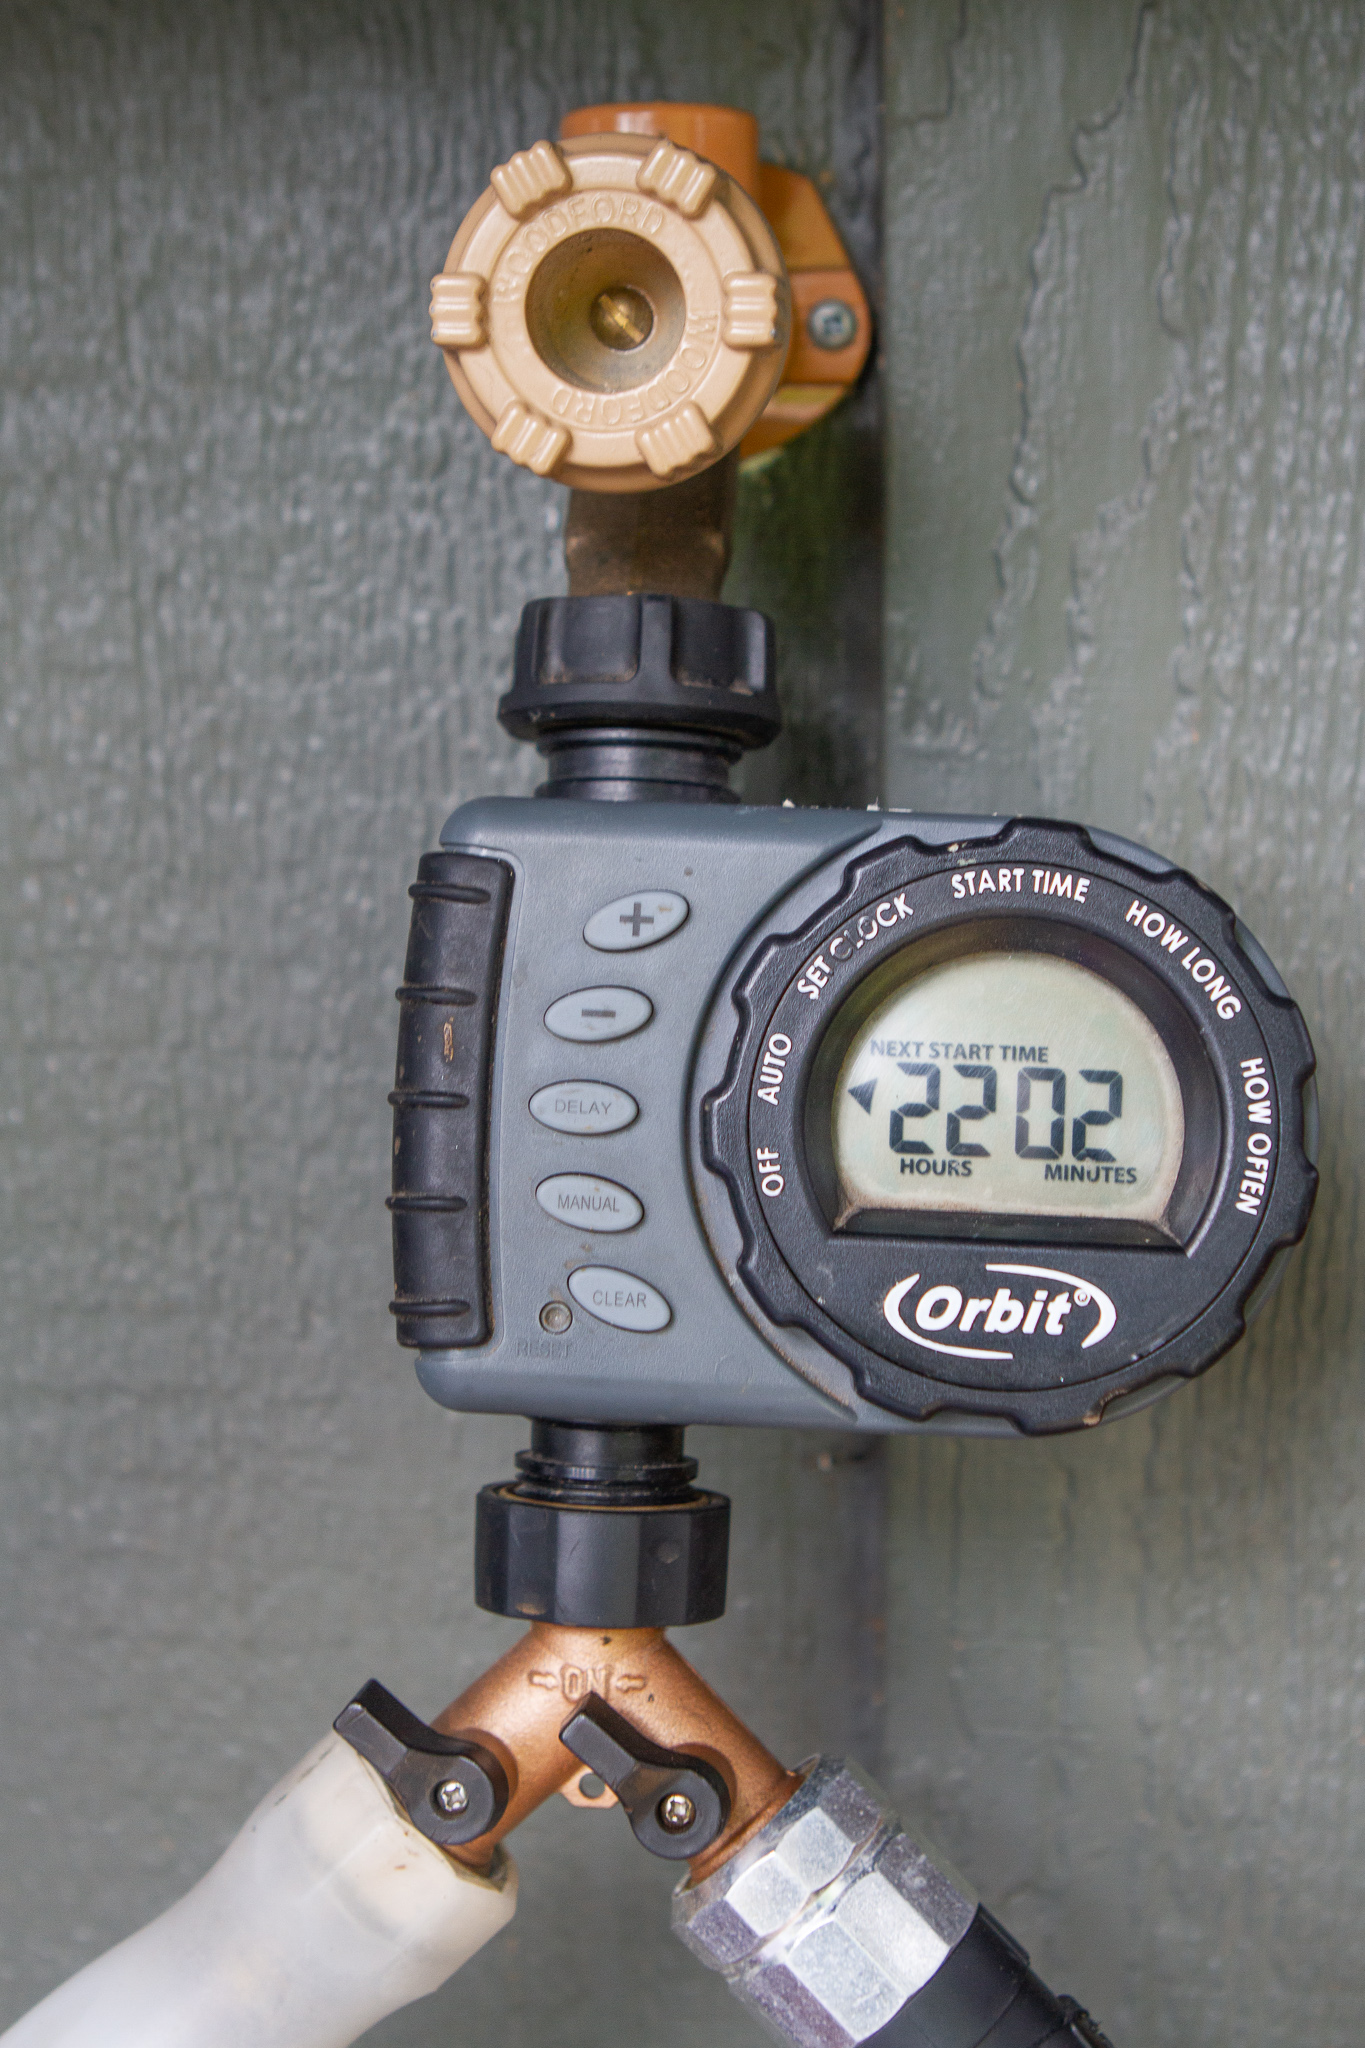
A faucet timer will help you set a watering schedule. There are many different options from high-tech Bluetooth to simple ones. Make sure to take into account how long it takes for the soaker hoses to give enough water to your plants. I would recommend setting everything up but before setting up the timer turn on the soaker hose and time how long it takes to supply an adequate amount of water to your plants.
This is a simple manual option:
A digital set up that can be linked to your phone:
Most similar to what I have:
Hose spliter:
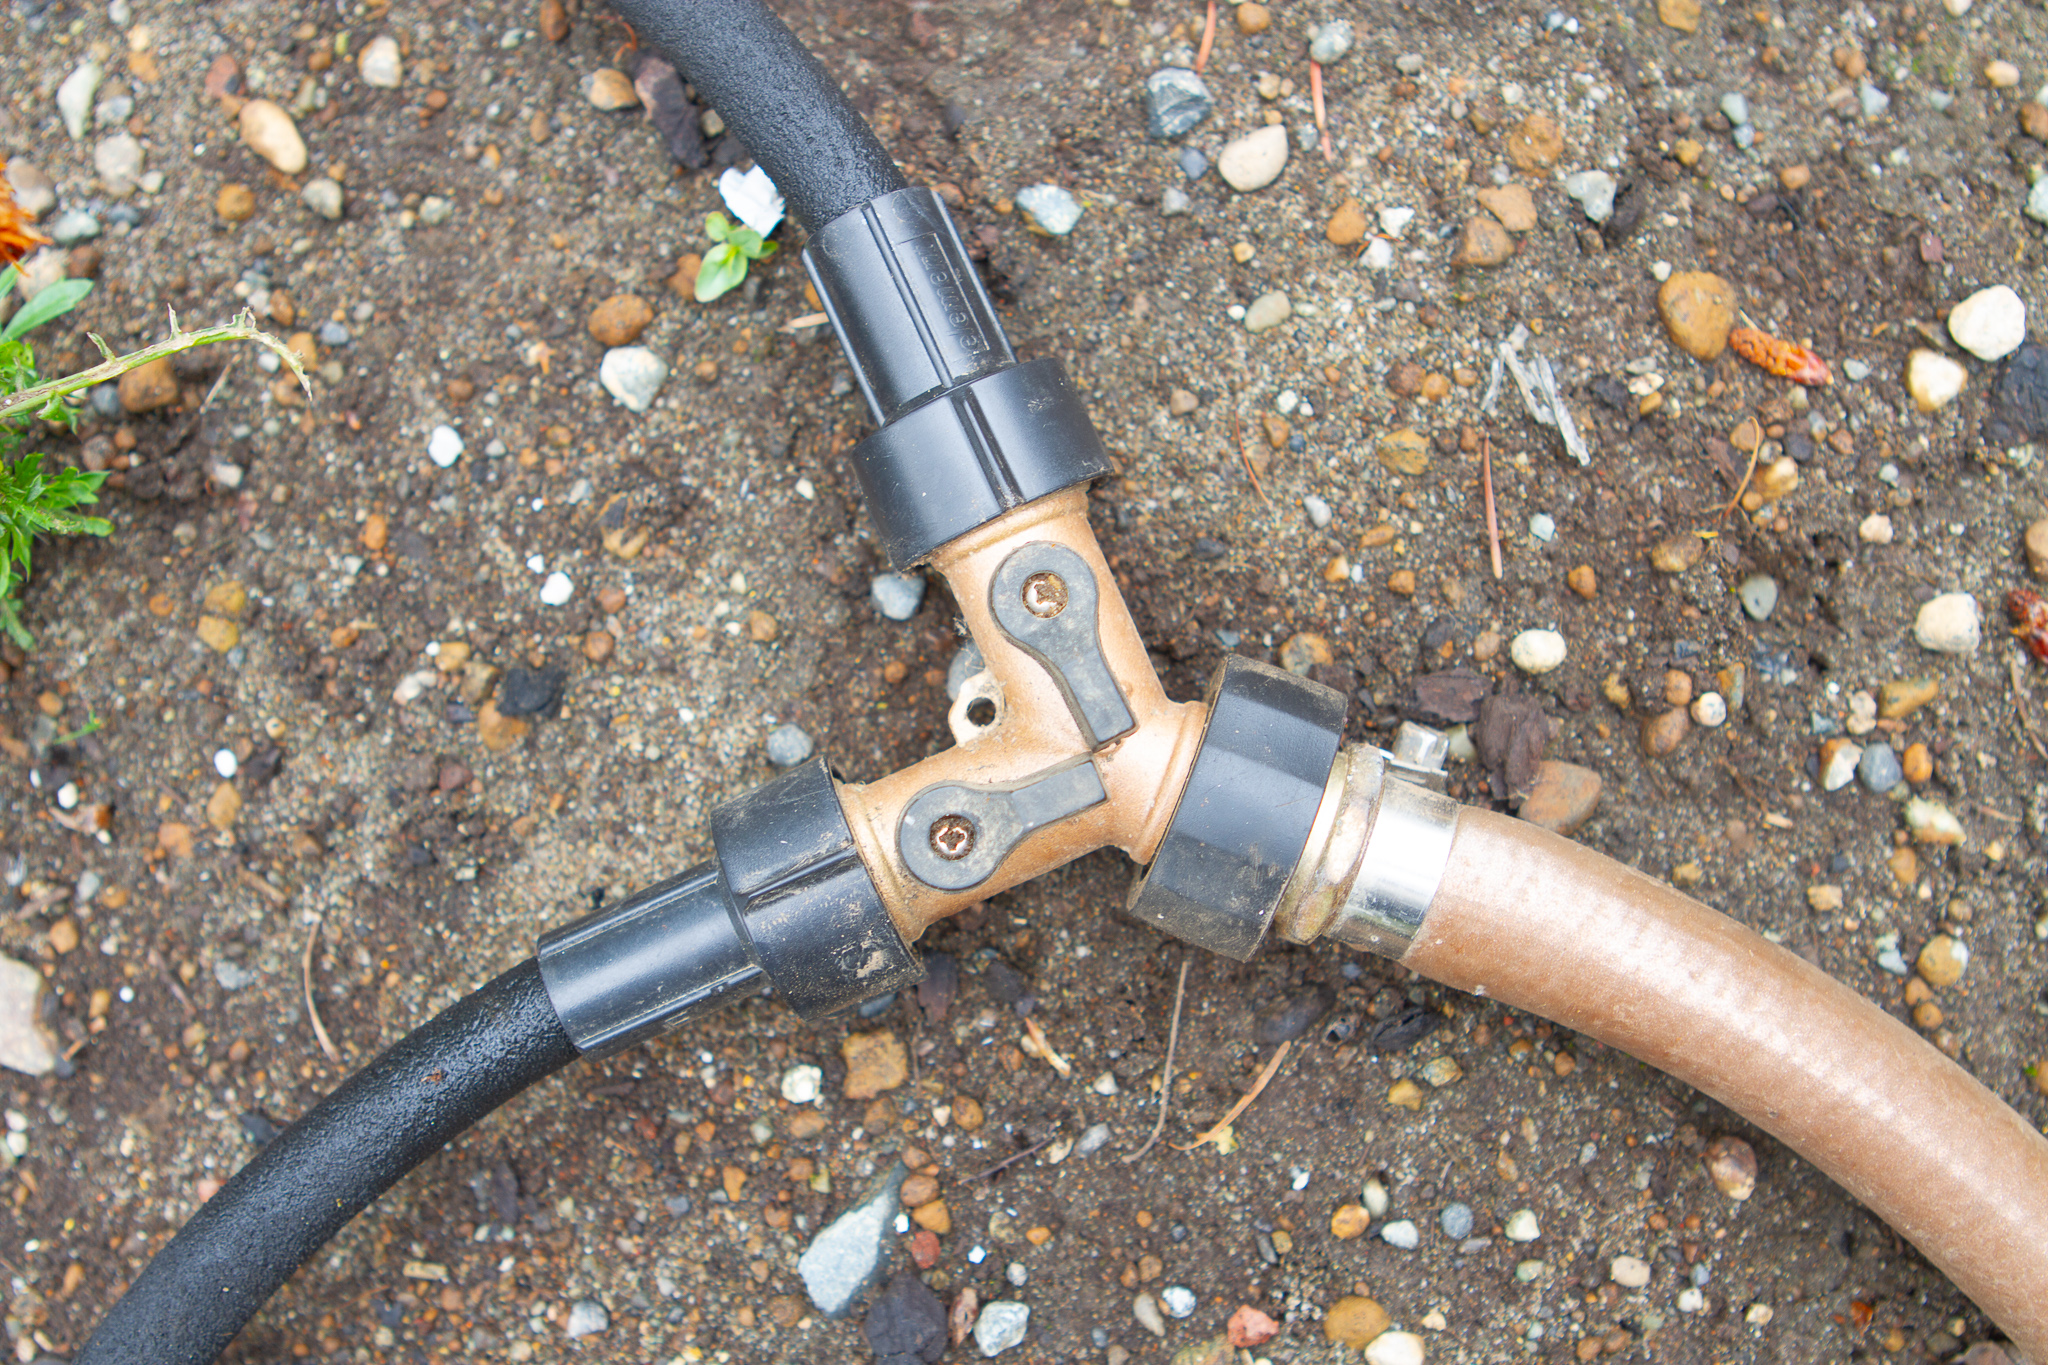
You will need at least 1 hose splitter but 2 will be better. To ensure your garden gets watered evenly route the main hose in the middle of your garden and place it in between 2 soaker hoses. That way you won't have strong water pressure at the beginning and weak at the end. Placing the water hose in the middle of your soaker hoses will help water pressure be evenly dispersed throughout all the soaker hoses.
The 2nd hose splitter can be placed on the facet timer if you need a watering hose for other areas so you won't need to detach any hoses to water your grass or flowers. This step is optional but very helpful if you use the water faucet for multiple areas.
One of the best and most versatile reasons for having a watering system like this is you can expand and adjust this system to your preference or if your gardening space changes. You can easily add more or fewer soaker hoses and lay them out in a different pattern year after year. Just make sure that at the end of the season, you clean and put away all the hoses. If left out for the winter your soaker hoses will become clogged with dirt and won't water well next year.
Other gardening post you might enjoy:
If you enjoyed this recipe make sure to leave a 5-star rating. As well as leave a comment if you have any questions or what you enjoyed most. Be sure to tag us on social media #juliesapron or @juliesapron for a chance to be featured on our page. These small gestures mean so much for the success of my blog! Thank you for following along and if you are new here, welcome; I hope you stick around and enjoy all the recipes!







Leave a Reply